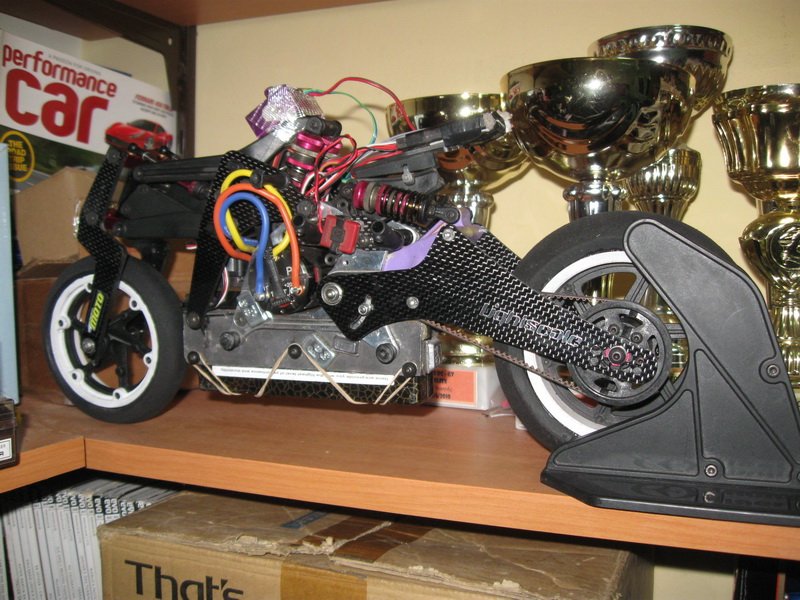
Clark's Swingarm Conversion for the TT SB-5
Clark Wohlert is the owner of the RC Hobby Shop "Clark's", in Germany, which specialized until now almost exclusively to large scale on road cars. Recently, Clark saw an RC Bike at his local track and being a biker himself, was very enthusiastic about it. Of course he got an SB-5 and then the little demon called "conversion" hit him with the bike! His inside firm, Lightscale, which produces options for 1/5 on road cars, was called in to create a few things for the SB-5. The swingarm conversion is the first of them, and we're sure more will follow!
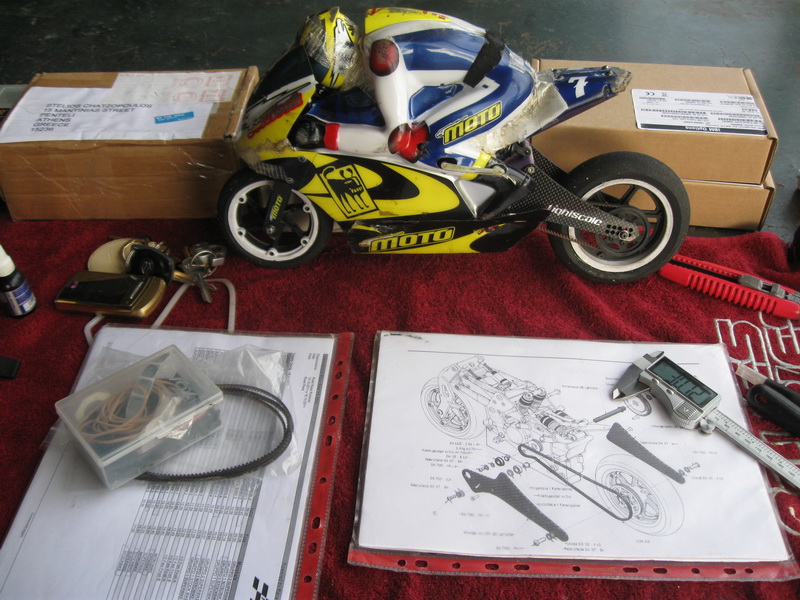
So, Clark just sent us a kit and of course we had to install on our own SB-5. Here's what's in the kit:
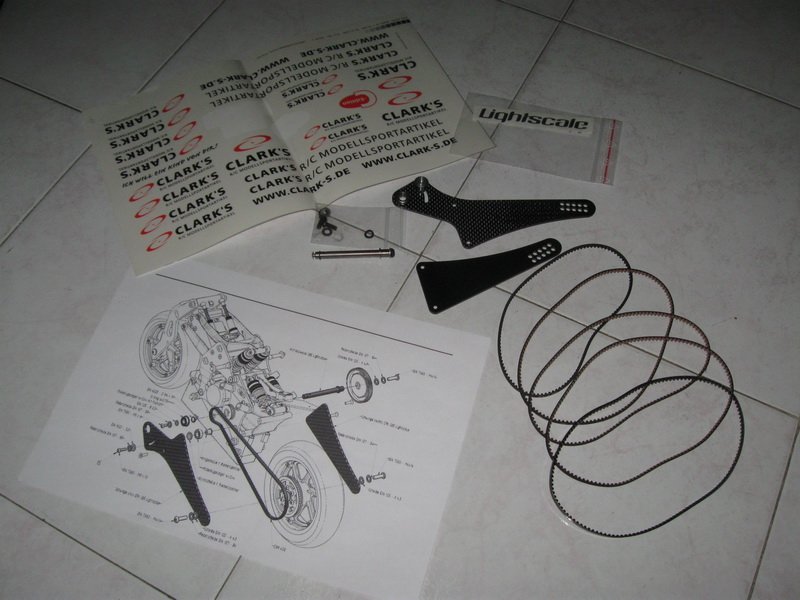
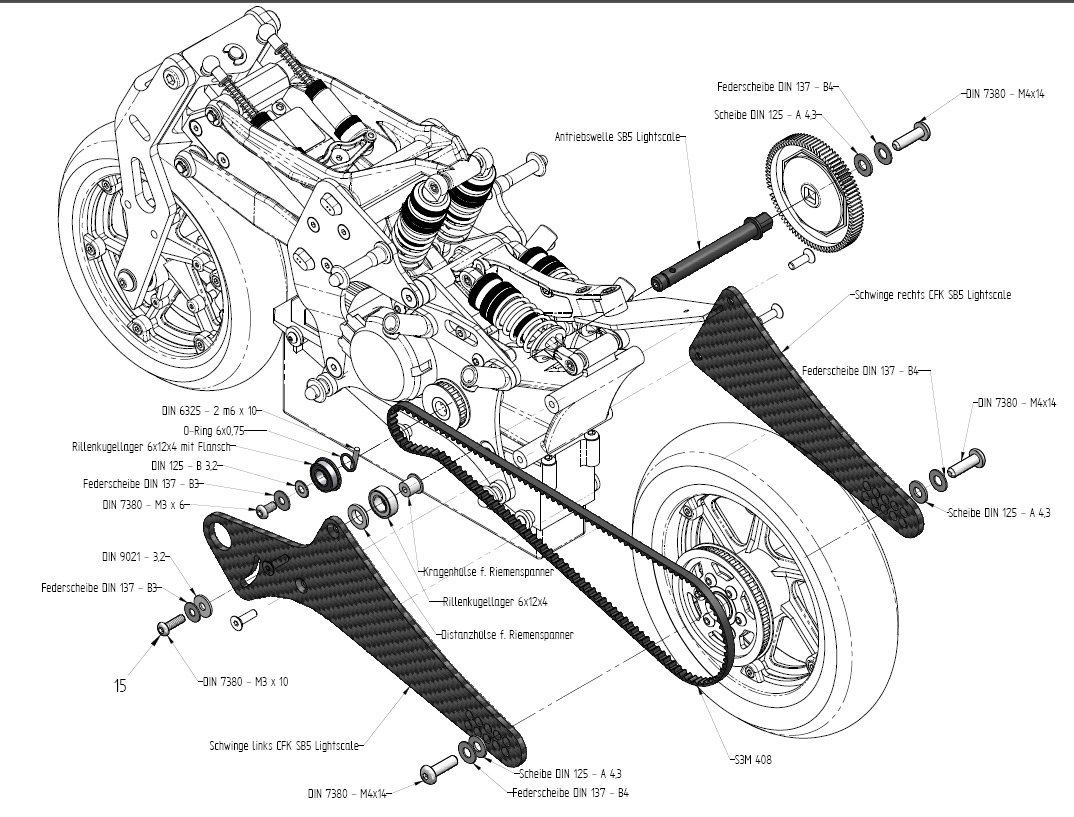
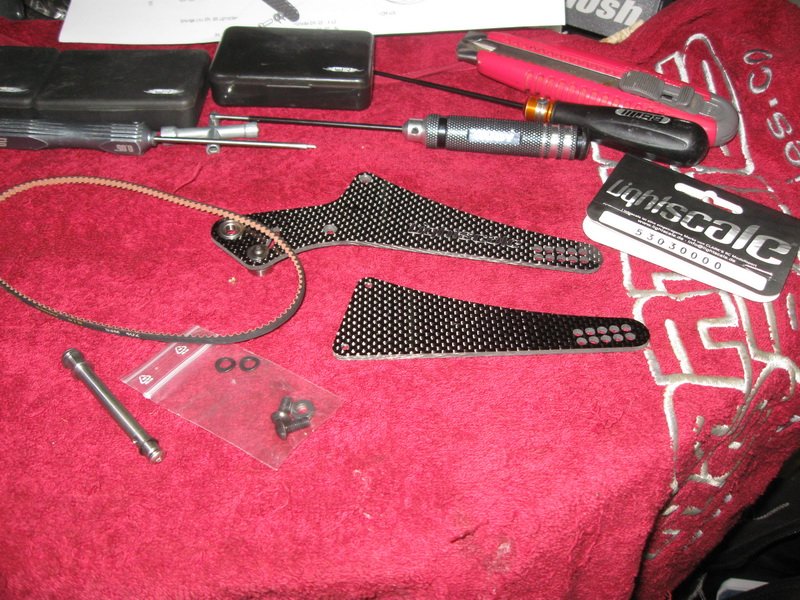
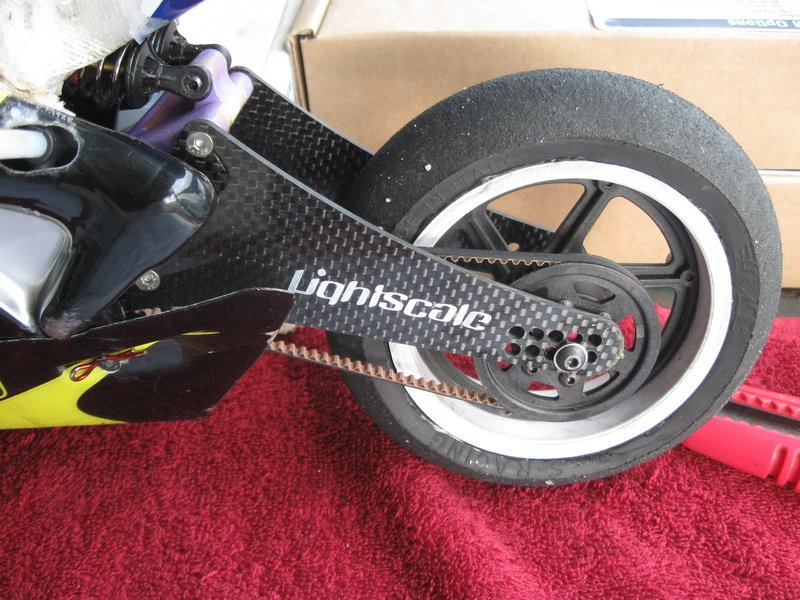
Two carbon plates, the left one with a belt tensioner mounted on it, both with ten holes for locating the rear wheel. A new layshaft, the appropriate bolts and washers, and five belts to choose from when altering the rear wheel axle position.
We chose to start with the middle position of the 5 holes. This was after some discussion with Clark, who suggests the middle upper position as a starting point. We chose to start with the middle belt, the 402. The others are 378, 390, 408 and 417, the longest of them would give the max allowed wheelbase of 320mm if it would be used.
The layshaft comes complete with two screws, one for each end. The left one in the pic, is the end where the spur and slipper will go. This is being held tight by using a normal flat washer and a "wave" one, so they will both replace the nut and spring of the kit layshaft, making the bike's profile slimmer in the process...
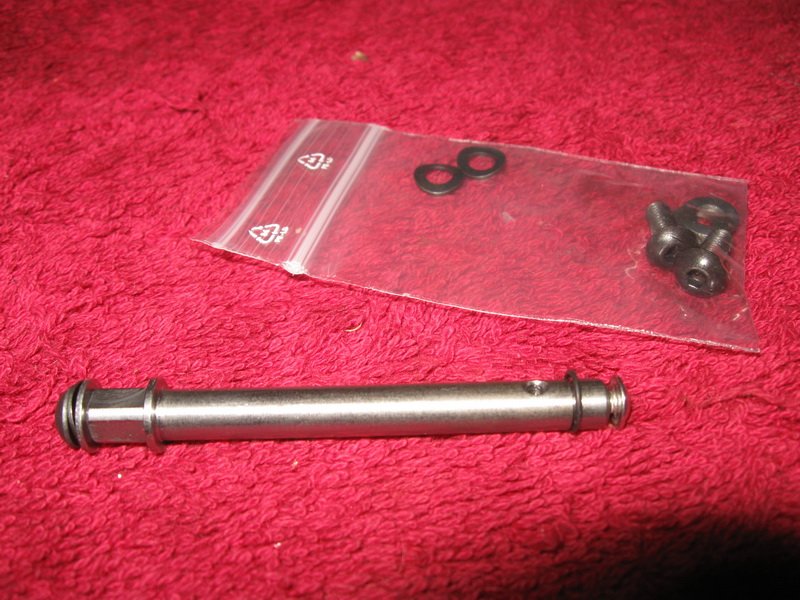
The bolts and washers in the plastic bag will be used for installing the rear wheel, later.
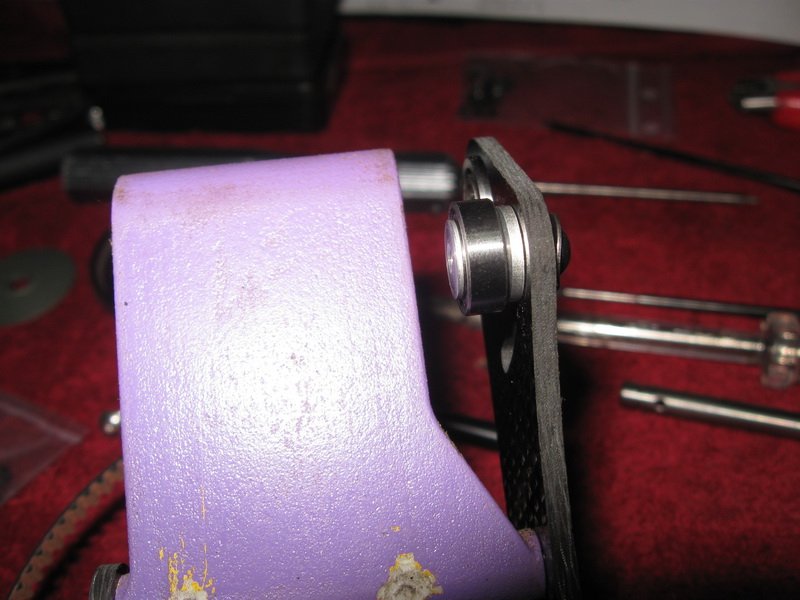
The tensioner, complete with washers and bolt.
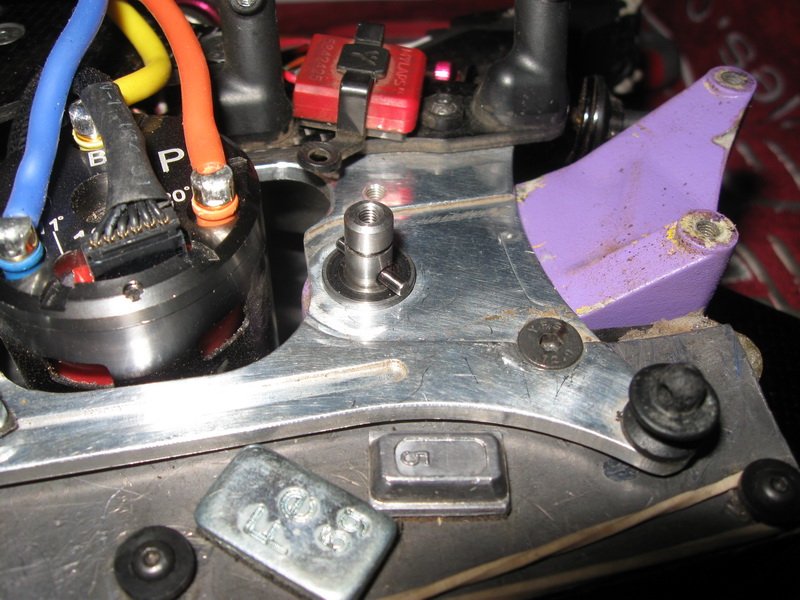
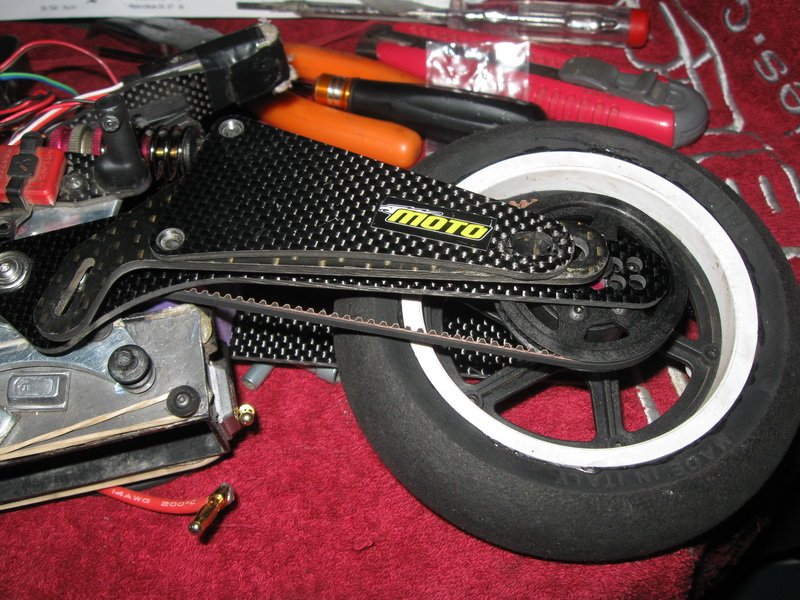
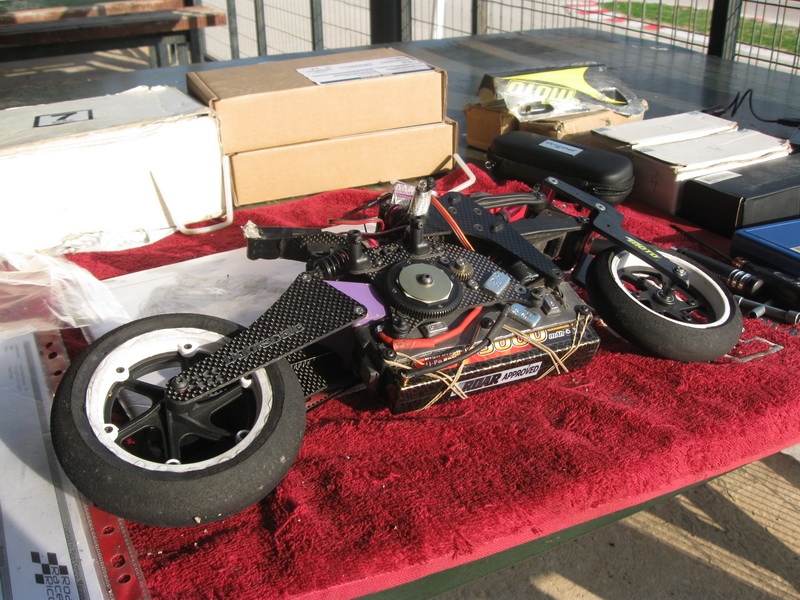
Here you can see my aluminum chassis plates. The purple "thing" is another option part, designed by World Champion Edi Winter and replaces the kit swingarm box, eliminating all the nasty flexiness out of that part of the bike.
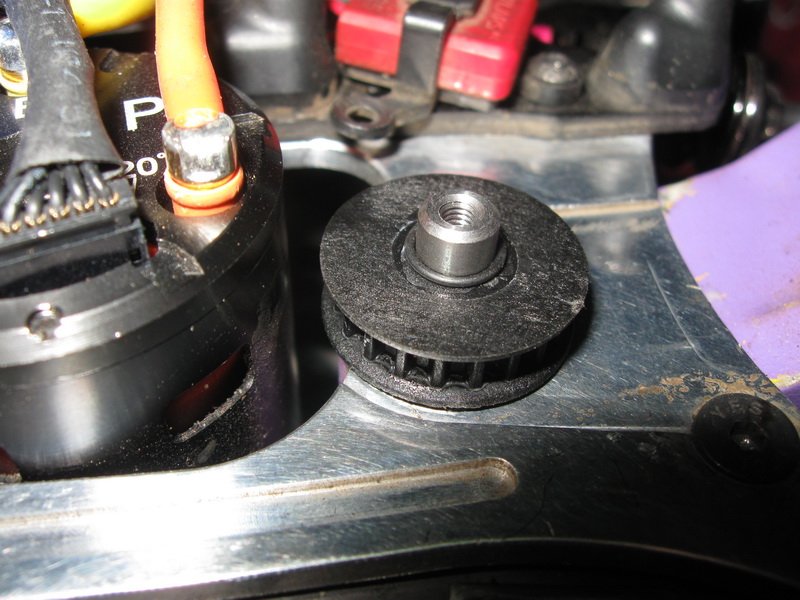
Onto the left end of the layshaft, we mount a kit front pulley and on top of it a 0.75X6mm o-ring to act as a spacer between the pulley and the bearing at the end of the left swingarm plate.
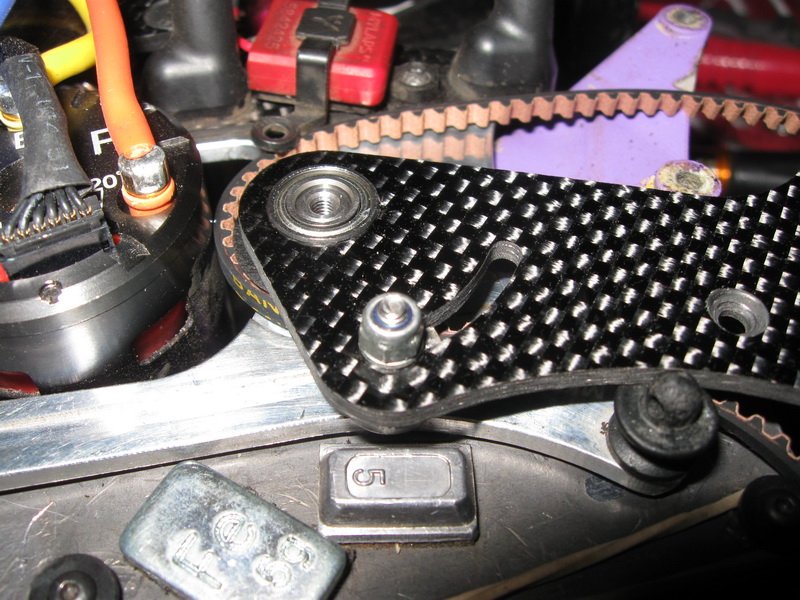
The installation of the left side is almost complete. A bolt needs to be bolted on the layshaft to keep that side secure.
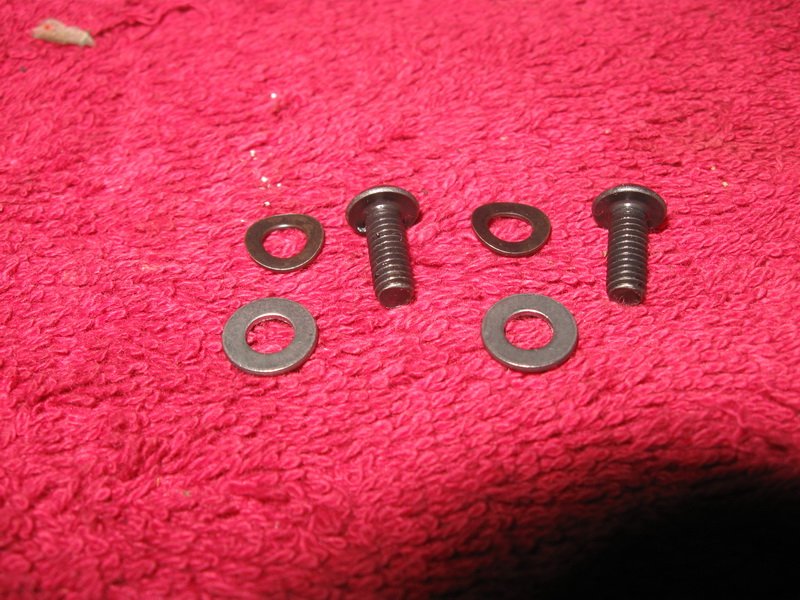
These washers and bolts will be used to secure the rear wheel onto the new swingarm plates.
For comparison purpose: On top is the kit swingarm plate. Below it is Michael's one, which is 8mm longer, and installed on the bike are Clark's plates.

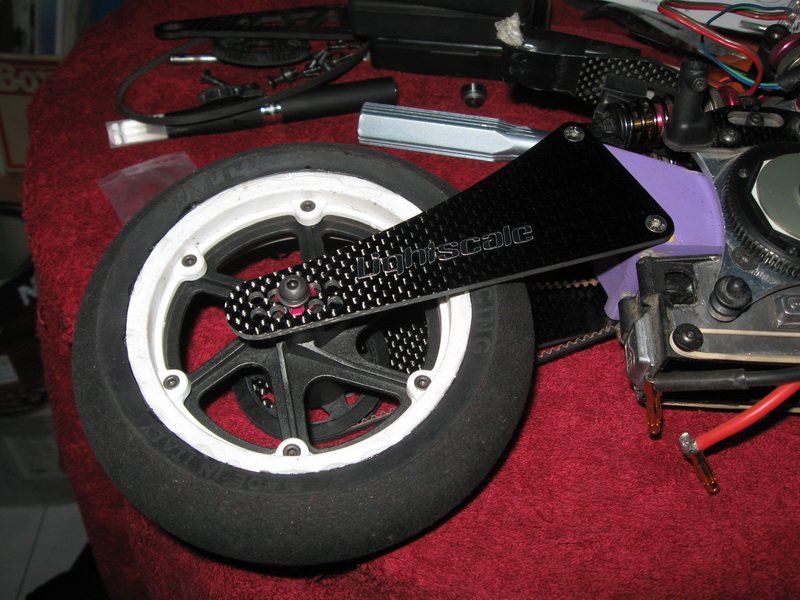
All set and ready to fly!
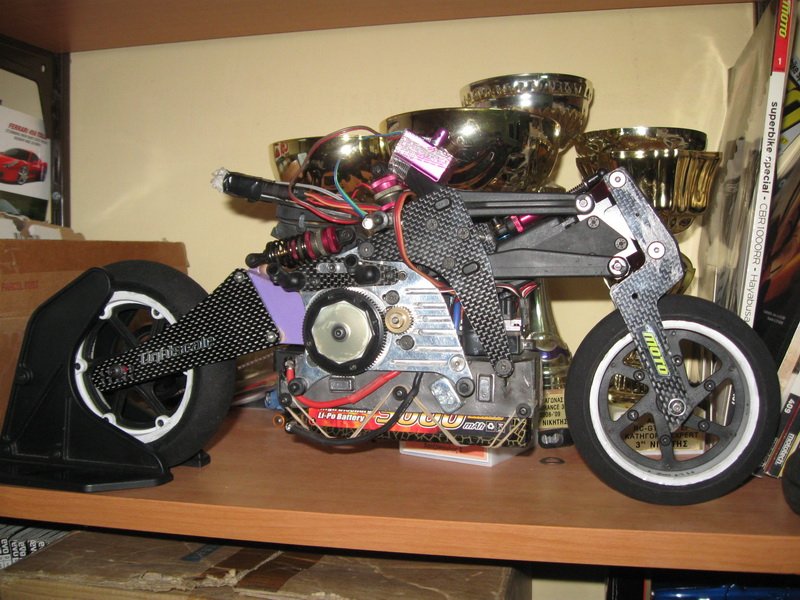
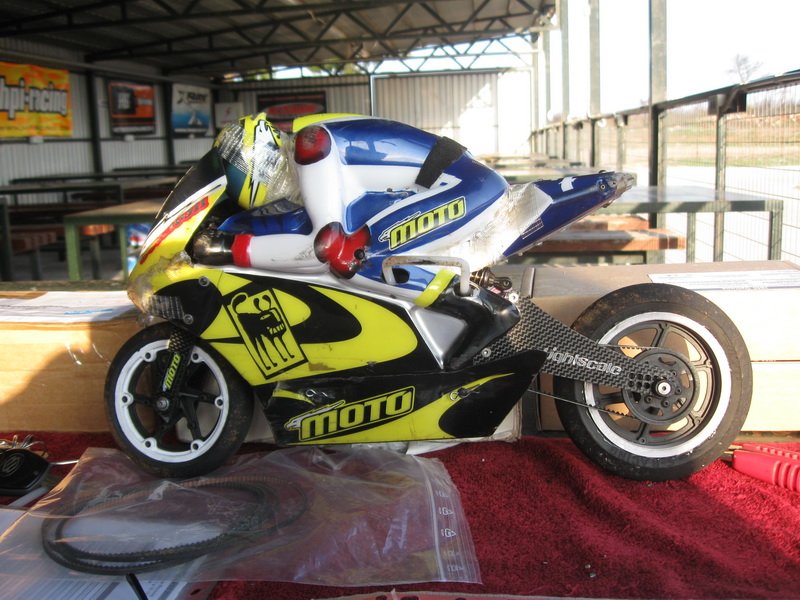
After a year of use, I realized my aluminum RCDevil.de main chassis plates were bent, so I reverted to the carbon kit plates, but I needed to do something about motor cooling.
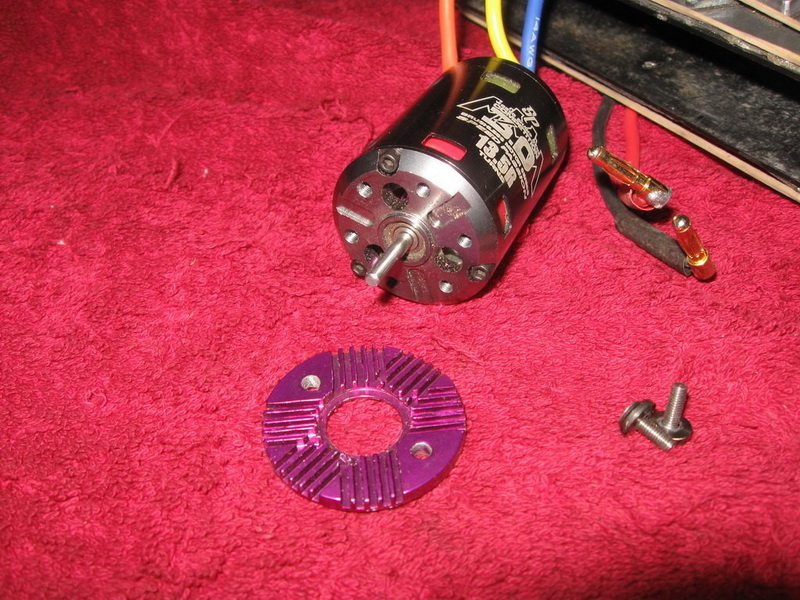
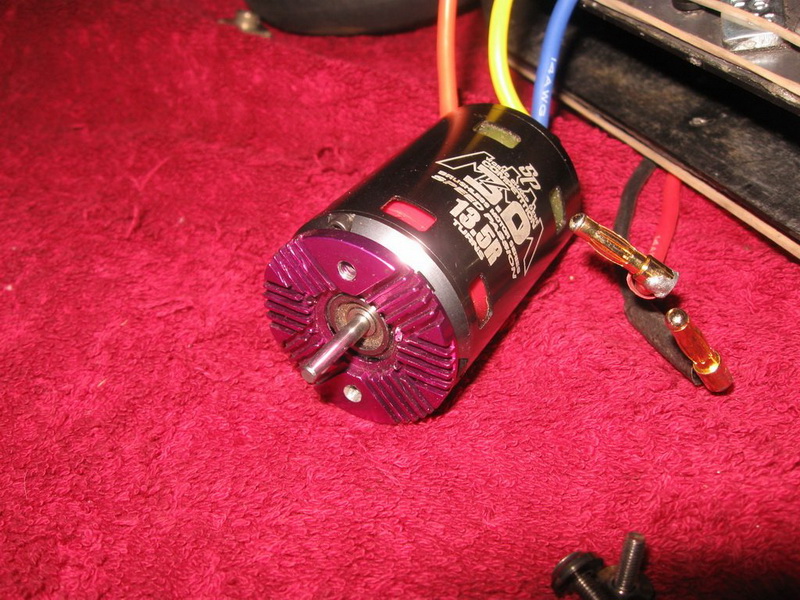
Deep in my spare parts boxes, I found this old (circa mid-90's!) motor cooling plate, which I bolted between the motor and the chassis plate! For the hot months of the summer, I intend to use an ESC fan zip-tied to the chassis, somewhere above the motor, to aid cooling a bit more...
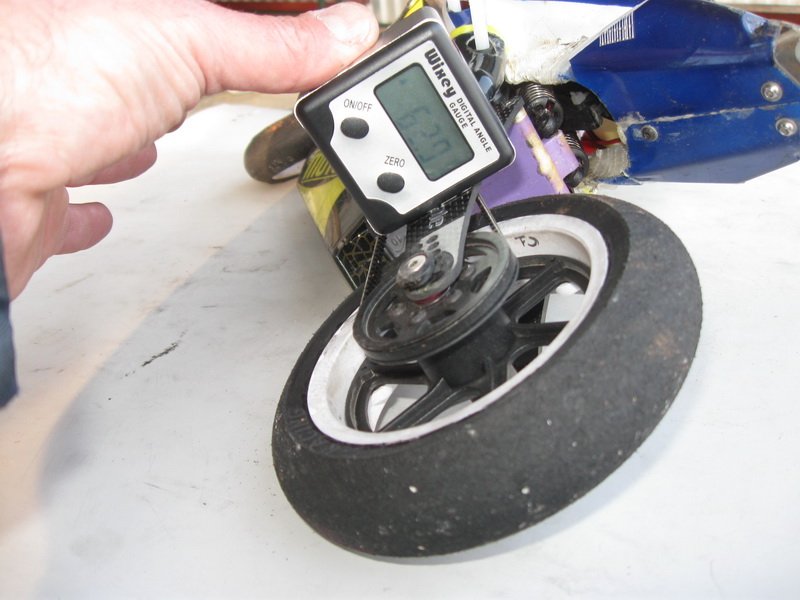
At the track, testing the various holes on the swingarm.
This is position 4-down. I have not come to any solid conclusions, yet, but I think that the 4-up position suits me best at the FRT "long layout".
Testing the 5-up position...
On the 5-down position the bike looks like a... dragster!!!
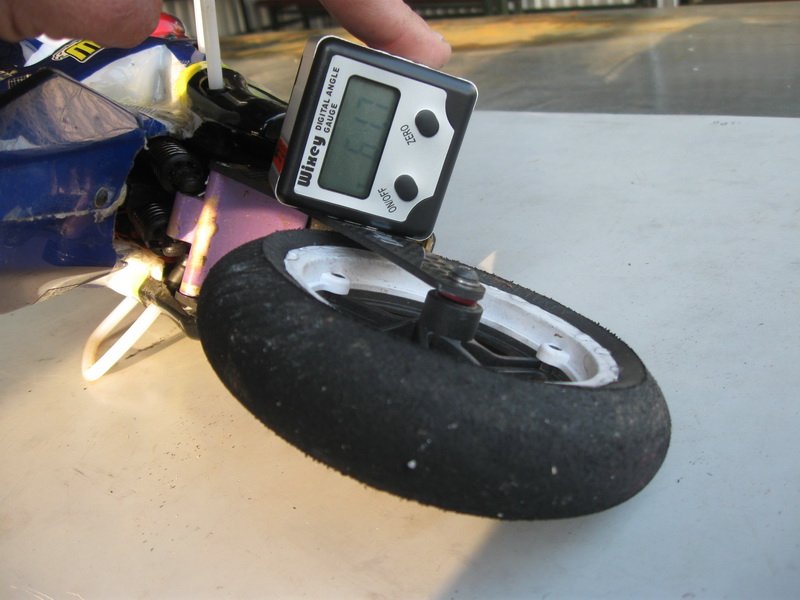
Impressive lean angles?!
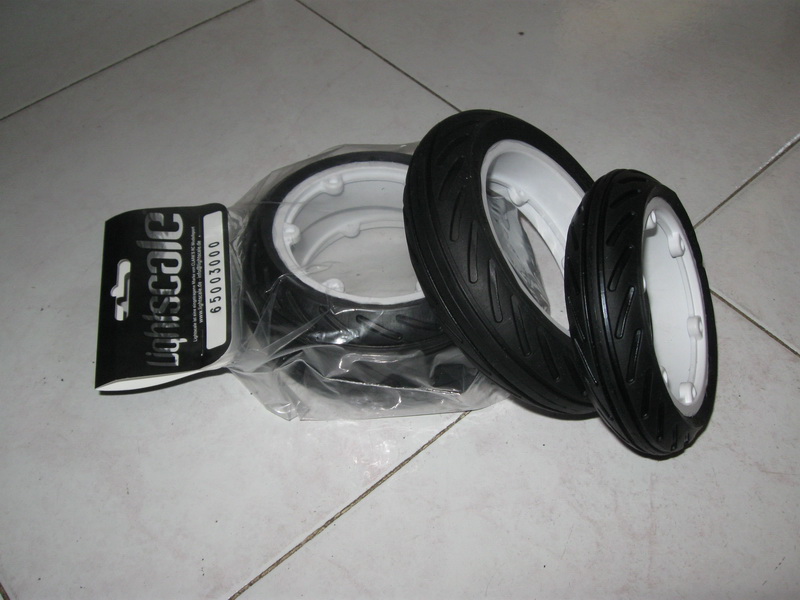
For the Worlds Warm Up and the Worlds, in Stock class, we are obliged to use PMT 200 treaded tires, so I asked my friend Clark to build a couple of sets for me. Before these, I had asked Clark to build a couple of slick PMT 200's for me. Clark is taking a pair of tires, a pair of Massari Extra Hard "cork" inserts and two TT wheel rims and does what most of us rc-bikers hate: Glue all these together AND make sure the wheels are still round after gluing! He actually charges only 5 euros for this service.
You can visit Clark's site, by clicking his logo:

www.clark-s.de