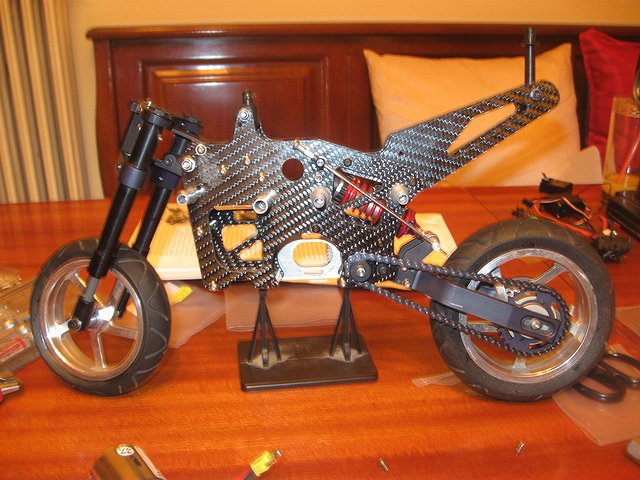
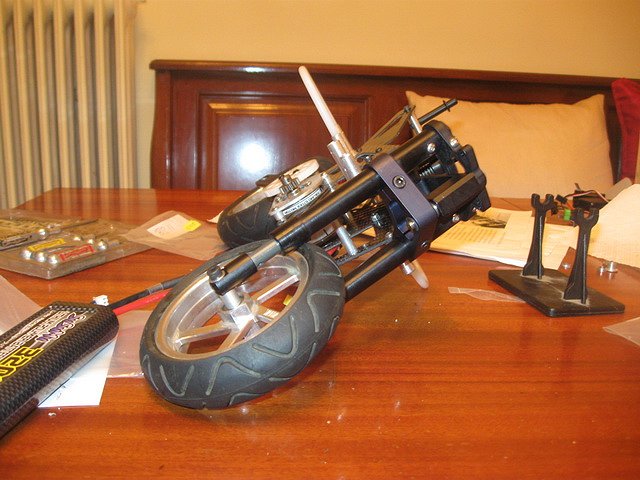
So, this is the bike and all the ancillaries needed to make it a running bike.
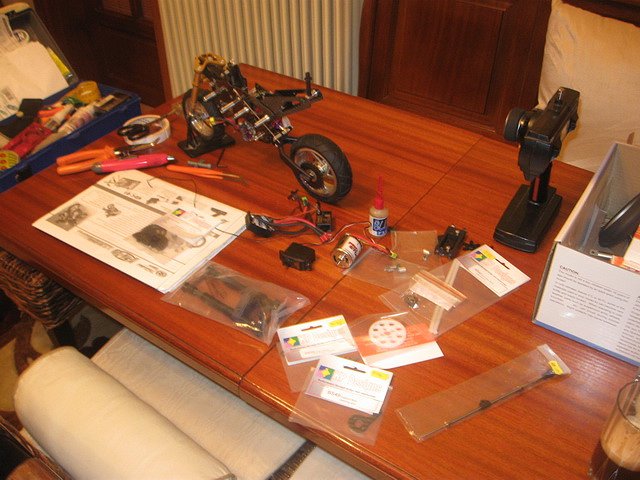
We had the TT front forks installed and a rear wheel just there, so that it's not "just an empty chassis".
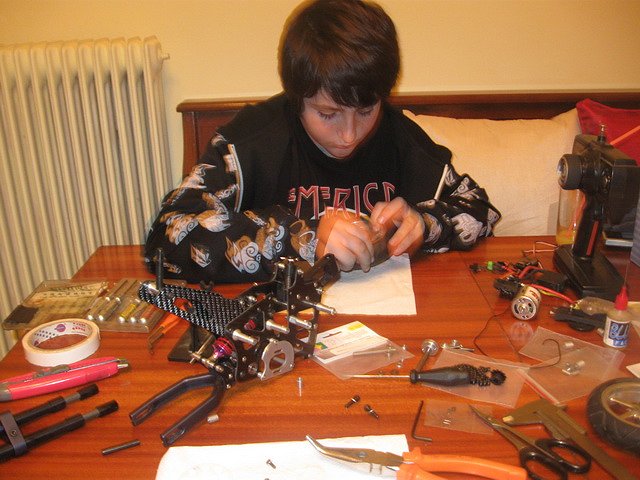
My son Jason insisted last night that we fix the bike and run it out of our house, since the street is quite well lit. We thought it would be running in a couple of hours, but we failed to reach the timeframe, because we stumbled upon a couple of modelling skill problems!
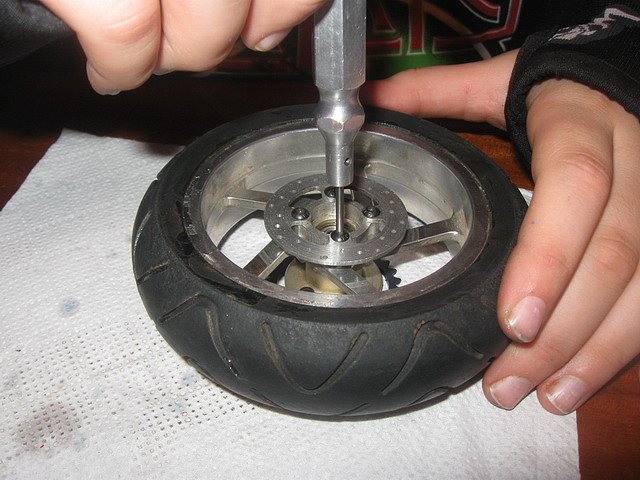
Since we used the TT wheels, we left the rear brake disc on the wheel, for now. I used to run three working brakes on the TT, but later I removed the front ones completely and the rear caliper as well. The thing is that to mount the disc to the rear hub, there is a spacer needed, which bolts to the wheel with longer than normal bolts. We will fix that in the next couple of days, but it looks nice to have a rear disc, even non functioning, so I may leave it there as well!
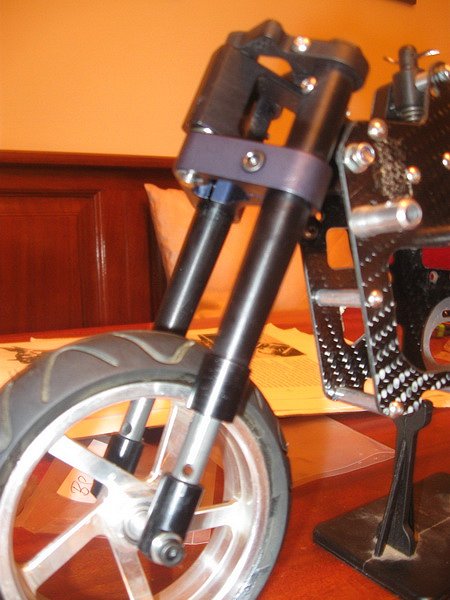
The front forks are brand new and came filled with oil and with a pair of extra springs. At first I thought that they should be as smooth as an oil filled shock, but this is not the case: There's a slight grinding noise and there's a lot of stiction, either with a wheel bolted on or without. It will be investigated.
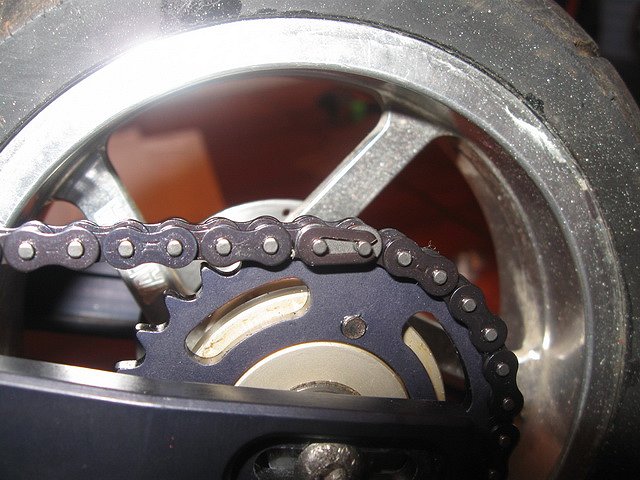
We also ordered a KP chain and sprocket set for two reasons: First, it's longer than usual, using a 70-link chain, instead of the 64-link one used in other 1/5 bikes. The reason for the longer chain is that the front sprocket is not carried in the same layshaft as the swing arm.
Second, the KP chain is of a finer pitch than that of the TT and the sprockets used are feather-weight aluminum items, while both the TT sprockets were steel and heavy!
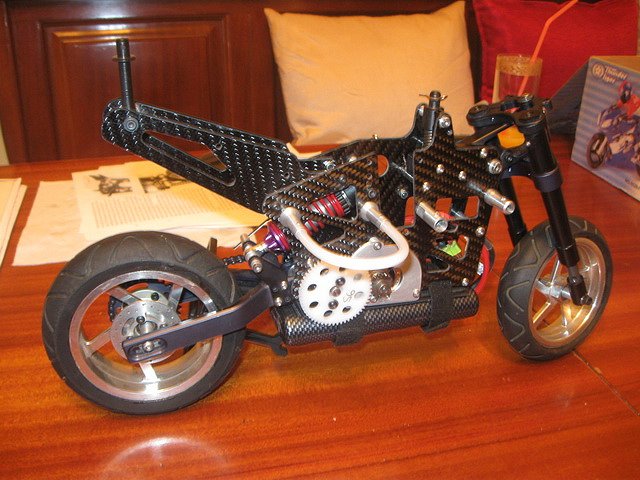
Finally the bike stood on its own wheels, correctly placed. We had some issues with the shimming needed for all the axles: Sprocket layshaft, rear wheel axle, front wheel axle. Fortunately with a little dremelling of a mix from stock TT and KP spacers we managed to space everything correctly and have a very smooth and silent transmission! Phew!
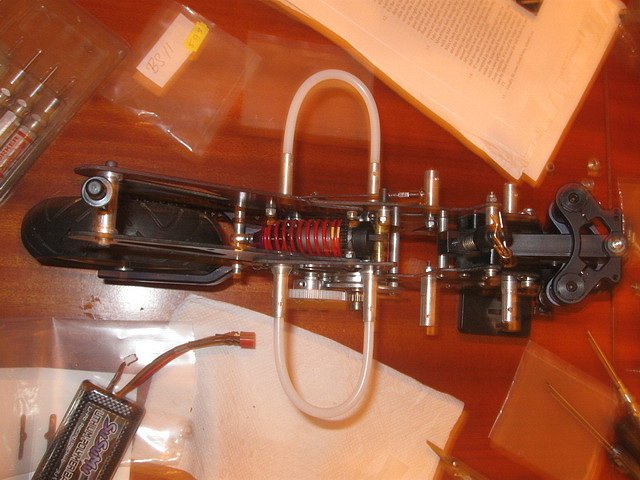
Take a look at our... butterfly!
The lean angle afforded by the delrin scratchbars seems like extreme... Maybe with the PMT 200 tires everyone is recommending, it can reach those angles... We shall see...
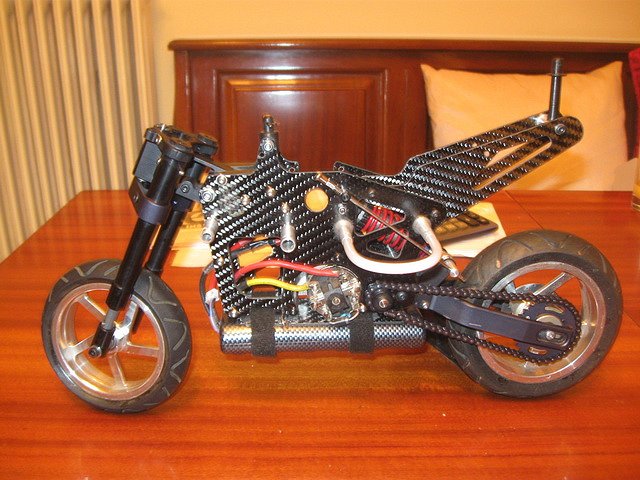
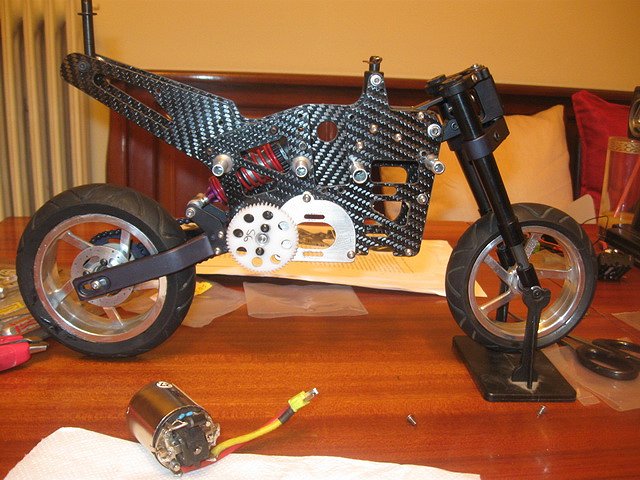
The bike almost finished: Motor and battery installed, just to see how they look on the bike.
The steering servo will go in the slot, in front of the rear shock. the ESC will rest between the frame plates, in front of the servo. We didn't install a servo, because all our servos are of the normal size, like Futaba's S3003. Installing such a big servo seemed a bit prohibiting psychologically, because the back of the servo protrudes between the body mounts too much to please the eye! I ordered a more compact sized servo from my LHS. Then, I realized the bike kit has no means of mounting the servo on the chassis! Thankfully I have a boatload of Tamiya/HPI/Kyosho spares so I will surely find some plastic standoffs to help secure the servo.
To mount the ESC one needs to remove the lowest aluminum chassis standoffs.
The battery tray is a very clever system, as long as you use TC tape to keep the battery on the tray. I used a couple of scratch strips for the photo shoot.
Right now, I have no body to mount on the new bike, other than the very wide TT Yamaha R1 and the narrower TT Ducati, so I will stick with the latter and a MotoProto rider. If all goes well during the week, the bike will have its maiden trip to the track next Sunday!