ΠΡΟΣΟΧΗ!
whatever I do here, I do on my own motorcycle and I take responsibility for it, my own motorcycle!
If you decide to do something along these lines and break/disarm/annihilate/exterminate your motorcycle, it's totally your own responsibility!
So, as clearly as this can be said: I AM NOT RESPONSIBLE for your damages!!!!
26.10.2023
How to repair the RID!
What happened?
I recently found out that the two small buttons that adjust the time on the RID were remaining stuck somehow, especially the Hour button, and the RID would show the hour increasing indefinitely, no matter if the bike's key was in operating position, or the bike was locked.
To access the RID and the screws holding it in place we have to dismantle and remove a few things:
First of all we must remove the screen, then the headlight, then the plastic headlight cover, then lift the instrument cluster a little up and away!
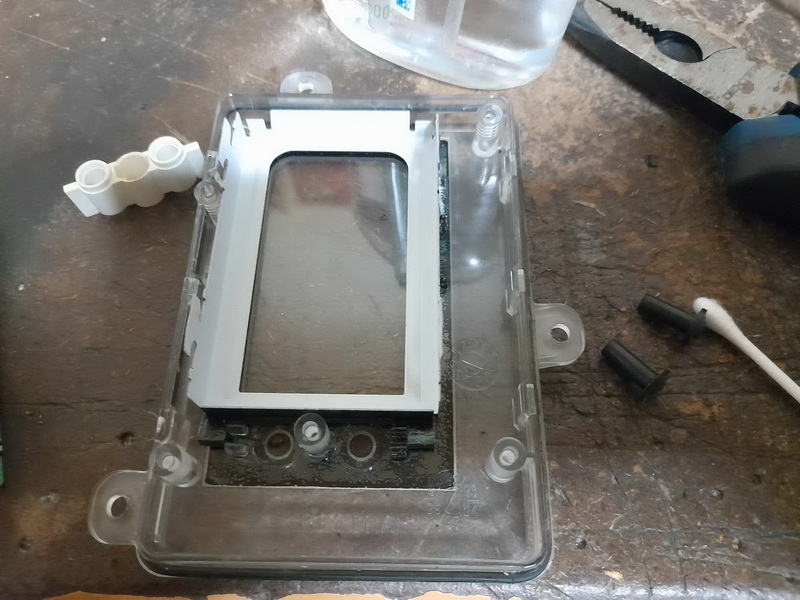
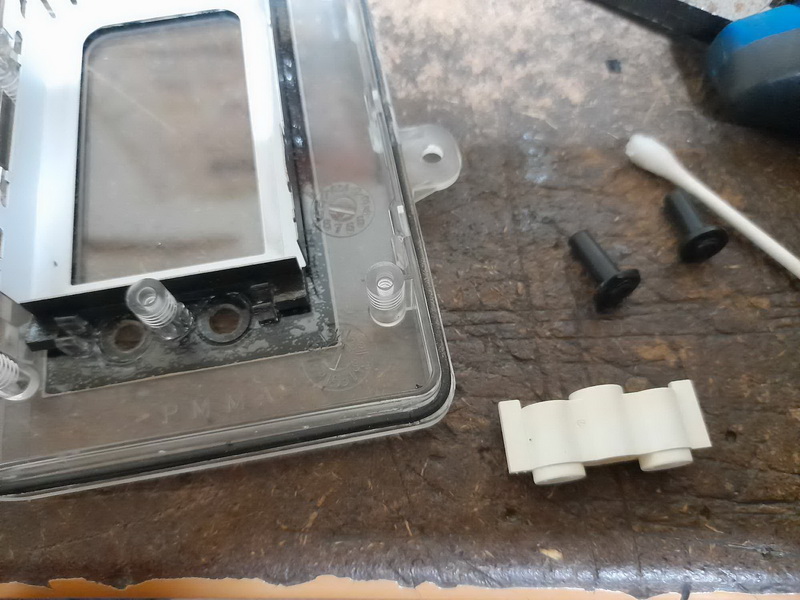
Then we can see the RID is held behind a plastic cover.
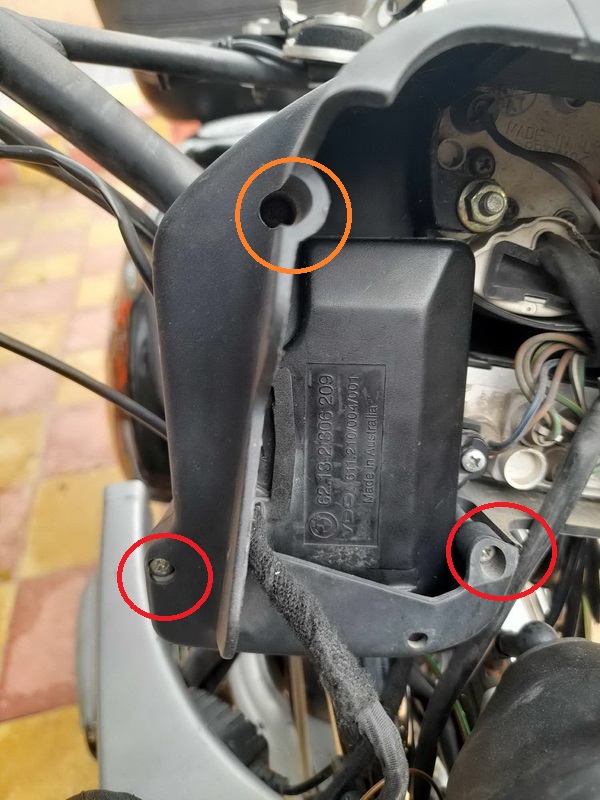
We have to remove three "gold" Phillips screws. Remember the top one is the longest of the three!
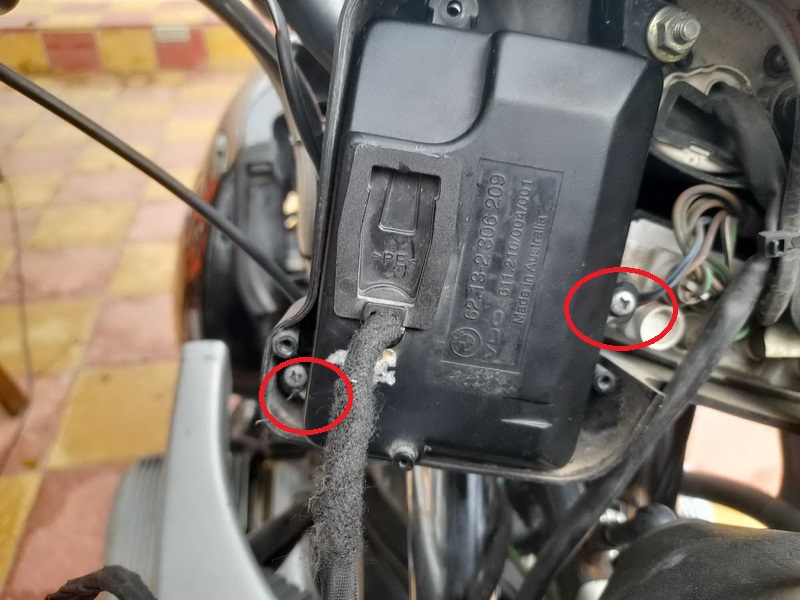
Then the RID itself is held onto the instrument cluster with two "silver" short screws.
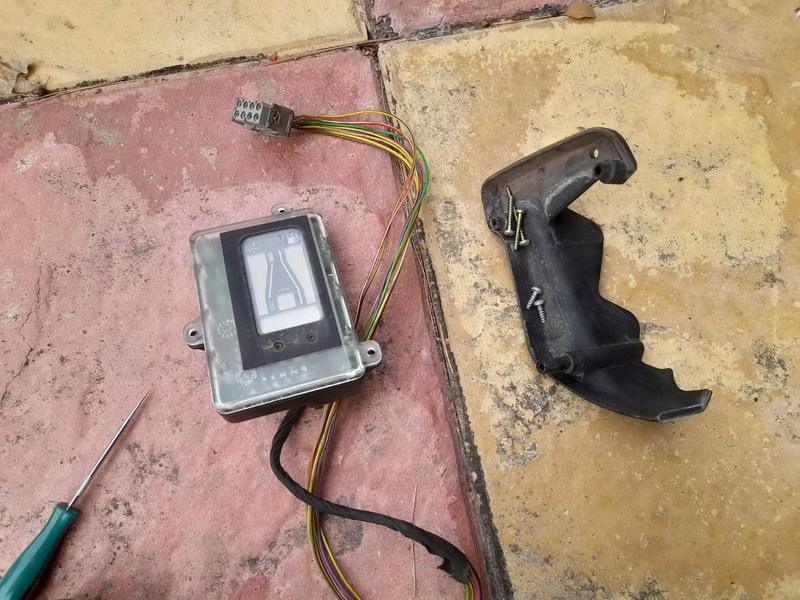
RID, plastic cover and all the screws. Keep them somewhere safe! It would be a nice touch to cover the old cables with some new tape, by the way!
If you need to ride the bike without the RID, you can do it safely. Remember to not look for the oil temp or fuel capacity!!!!!!!
It just doesn't feel... right seeing that hole there! I have ridden the bike for 22 years so far, so it just feels... empty!
But I had to run some errands, so I reinstalled all above parts without the RID!
Anyway...
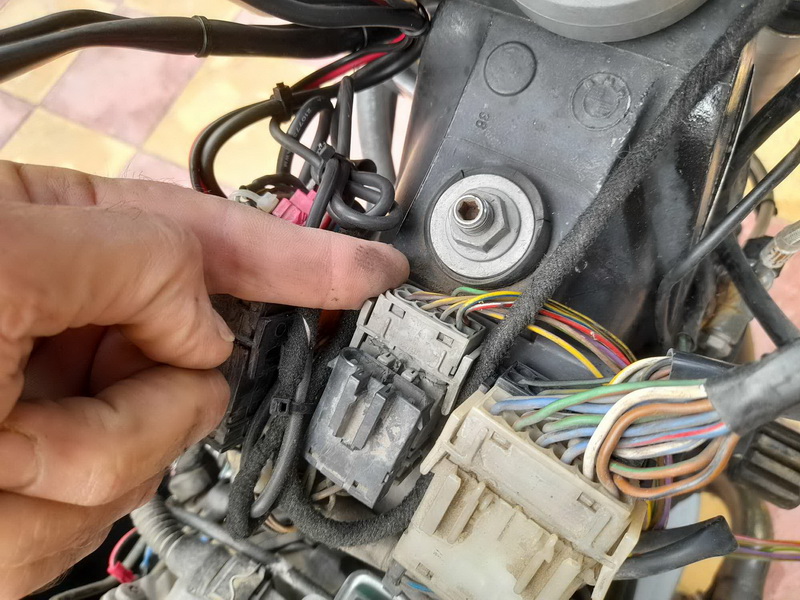
We have to move the fuel tank, as well, not remove it from the bike, mind you. Just slide it back a little. This way we have access to the RID's connector.
Now... the connector being a plastic part that's seen 24 years worth of all kinds of weather, may be fragile. So we take our time while disconnecting it from the bike! It's worth the effort! Alas, do you think it will be easy or cheap to replace such a connector? I don't think so!
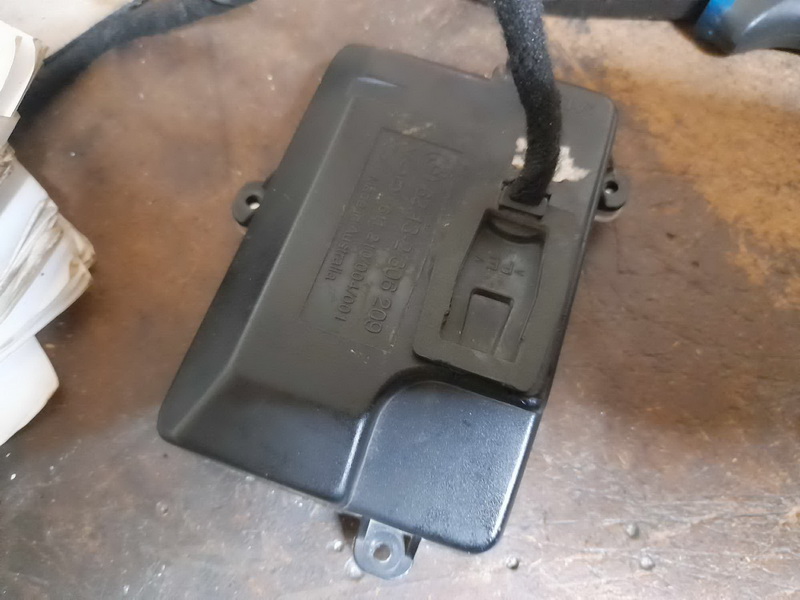

I found some instructions on the iBMWr site, on how to dismantle the RID. (click on the link and it will open in a new page).
First we need to remove the little back cover.
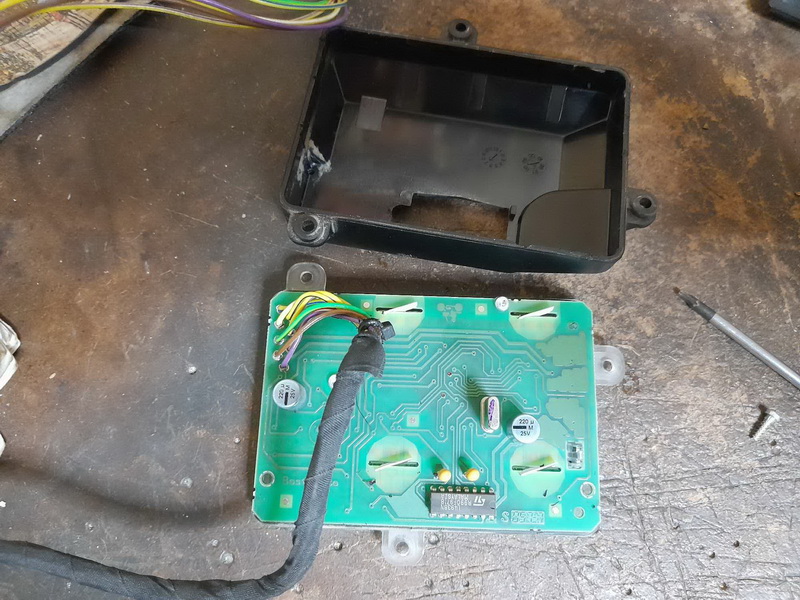
Then very carefully and with great patience we can unclip the black plastic cover away from the transparent plastic.
Notice there is a thin o-ring around the transparent plastic. Be careful not to tear it or cut it. It is actually the only weatherproofing means of the RID!
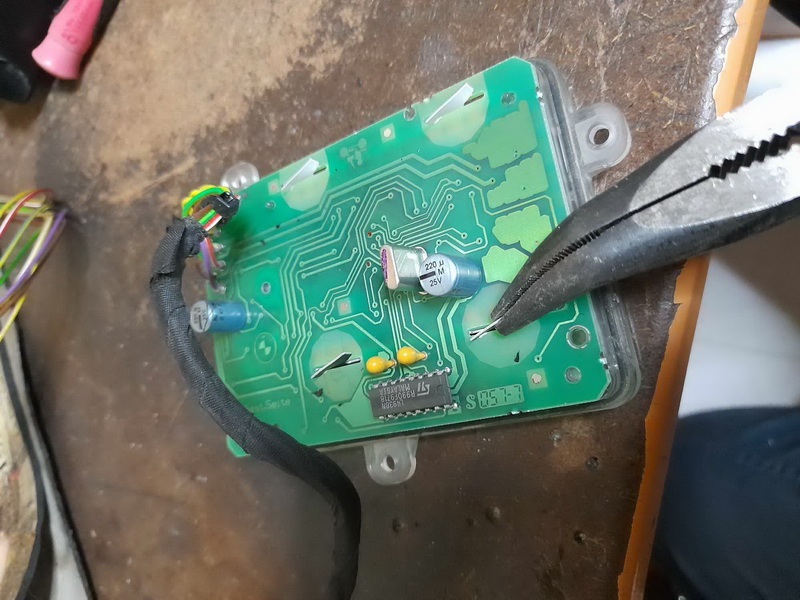
The LCD screen is held onto the board with 5 torx T10 screws and four metal tabs. Using needle nose pliers we can bend them a little. Remember tobend them back when finished!
Lifting the protective cover, we will see the two buttons and a white plastic that keeps them in place.
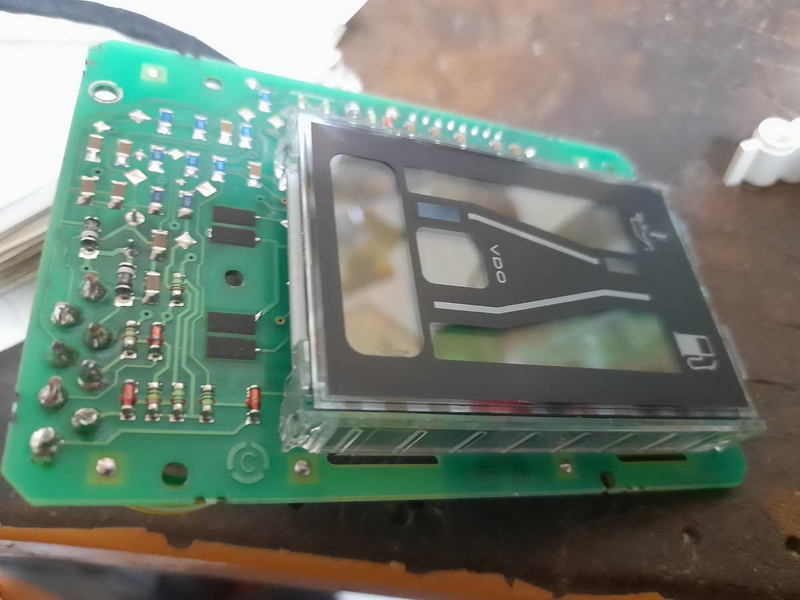
I cleaned the buttons. On the PCboard, I cleaned these two black pairs (how can I describe the contact points?) carefully. Then I used some vaseline on the tops of the two buttons, actually the area that is left exposed when we see and use the RID on the bike... I also used vaseline on the o-ring around the transparent plastic...
Now my RID is ready to be mounted back on the bike.
Since I had a wobbling front left blinker, I decided to take a look at that too!
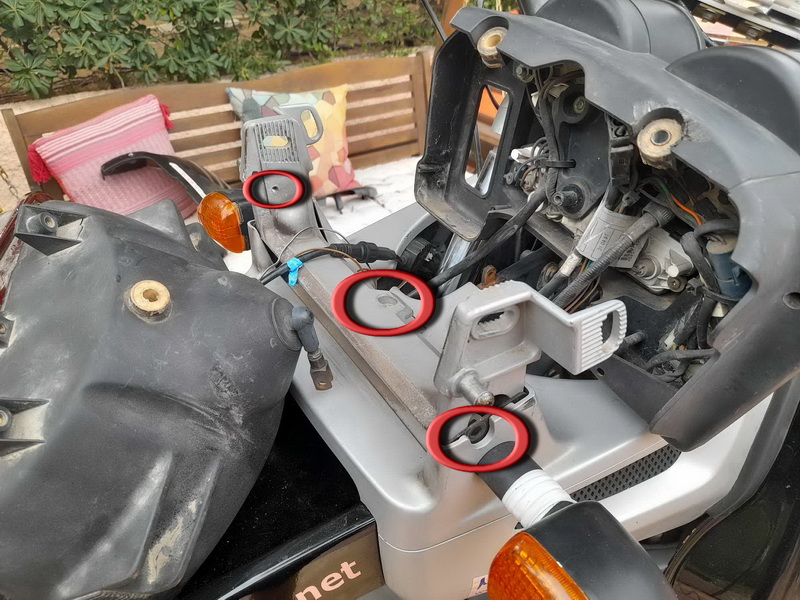
So, while the headlight and the instruments were out, Iremoved three 4mm allen bolts (see the circles), then slid UPWARDS this heavy metal thing and exposed the nuts that hold the front blinkers!
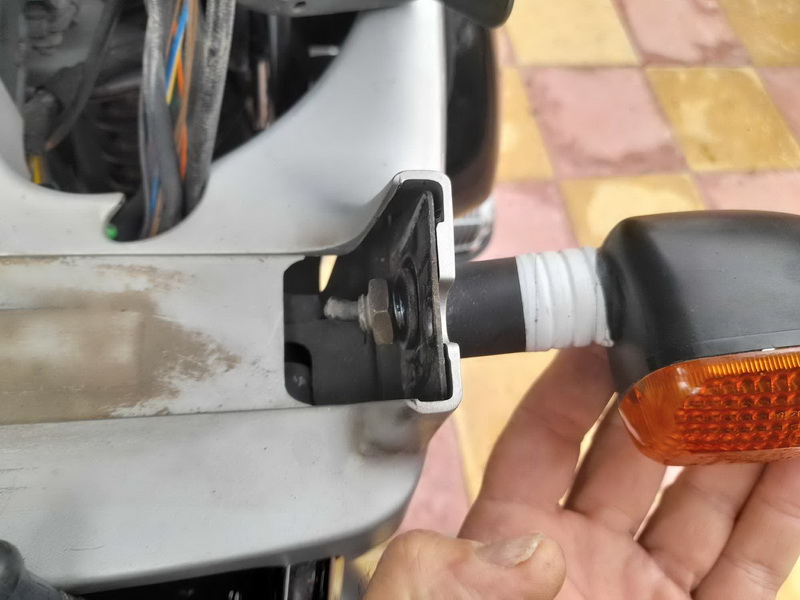
Indeed the left one was somehow unwound a little. A small drop of Loctite and tightening with a 19mm spanner took care of it!
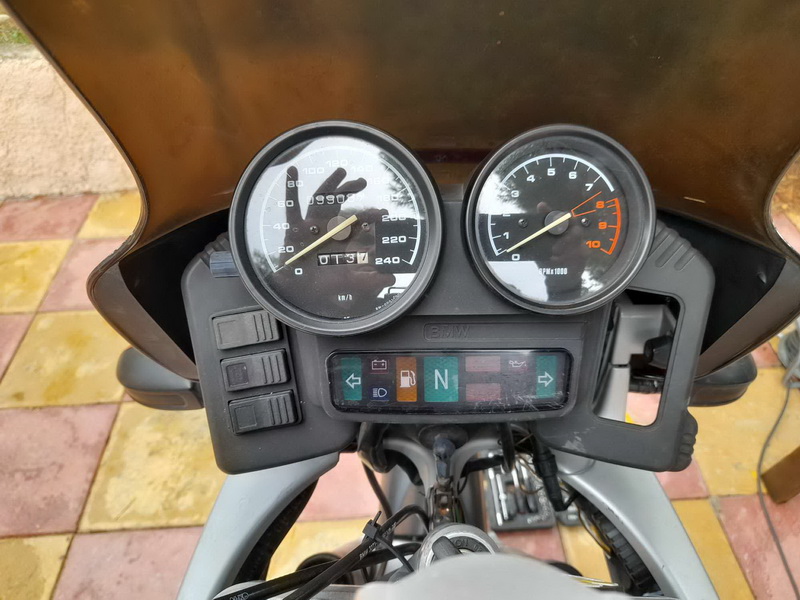
Last but not least, remember to tightly but not brutally tighten all the screws and bolts and then test the RID!
See! It works! (Let's see for how long!!!)